R and the RStudio IDE are required. See the first module on R Basics for guidance.
Session Files on Local Drive
Copy the folder T:\2021May\intro-shiny onto a place of your choice on the C drive.
Make sure that the directory of files for the sessions are copied onto your local drive. If they are on PSRC’s network, you may experience extreme sluggishness when using a .Rproj file.
Open .Rproj
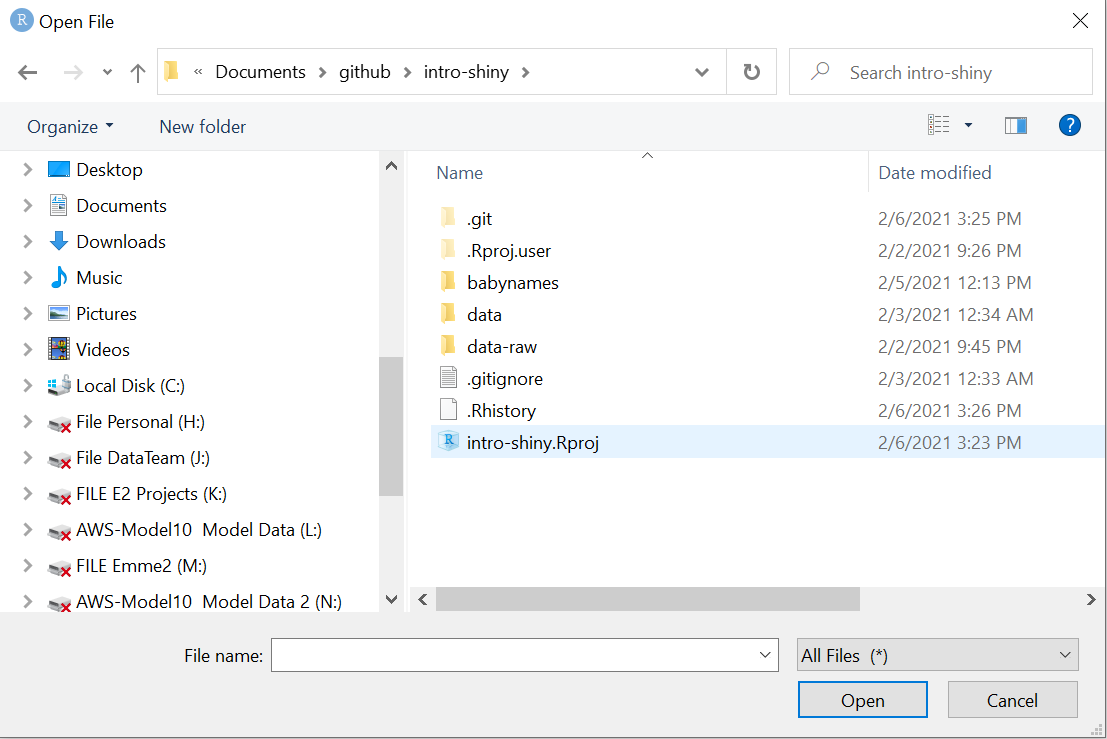
In the RStudio IDE, open the intro-shiny.Rproj file. Project files will automatically set our working directory–in this case, the root of the intro-shiny directory. No need for setwd() and dealing with file paths!
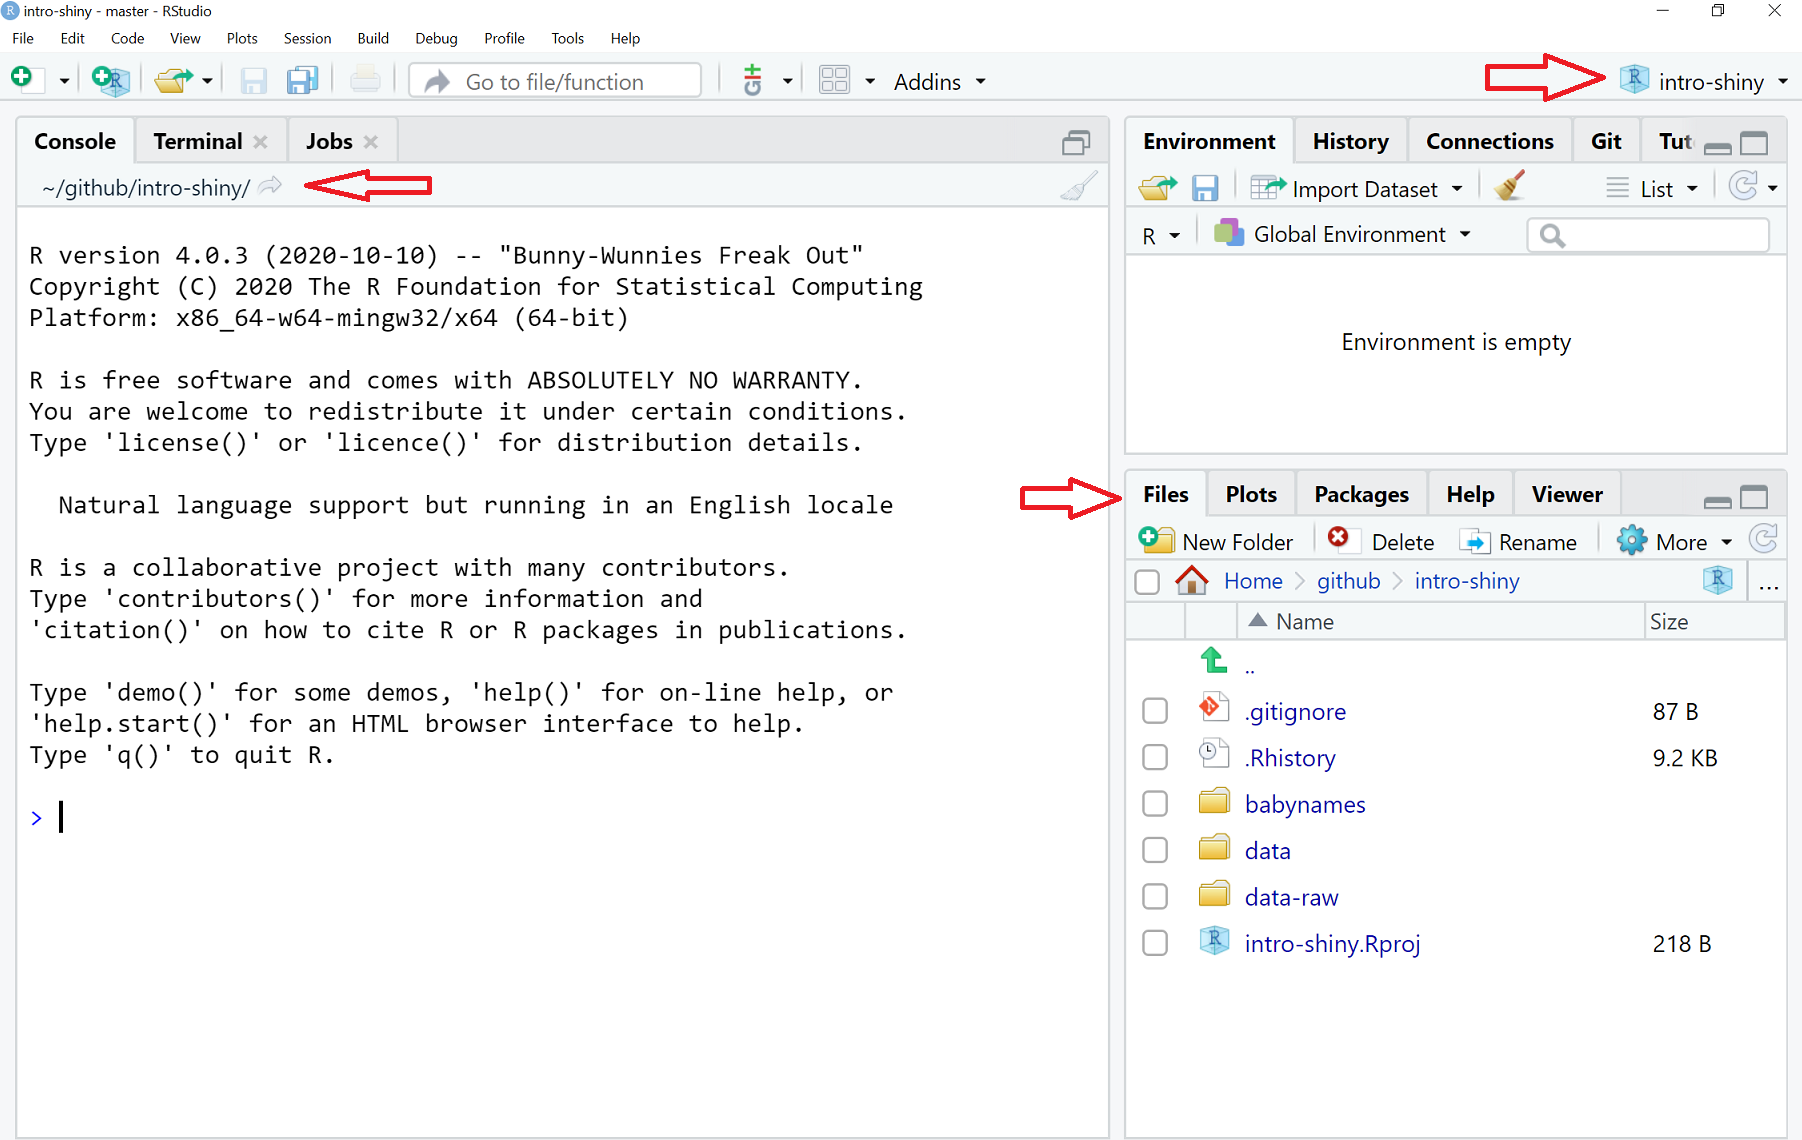
After opening the .Rproj file, you’ll see some changes to your IDE. Your console and Files pane will reflect the new working directory, and the project name is listed in the top right corner.
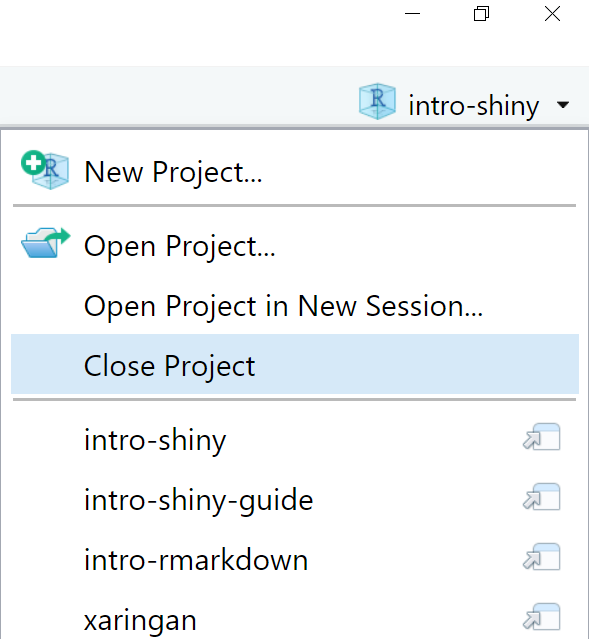
 To close out of the project, click the project name at the top right corner and select
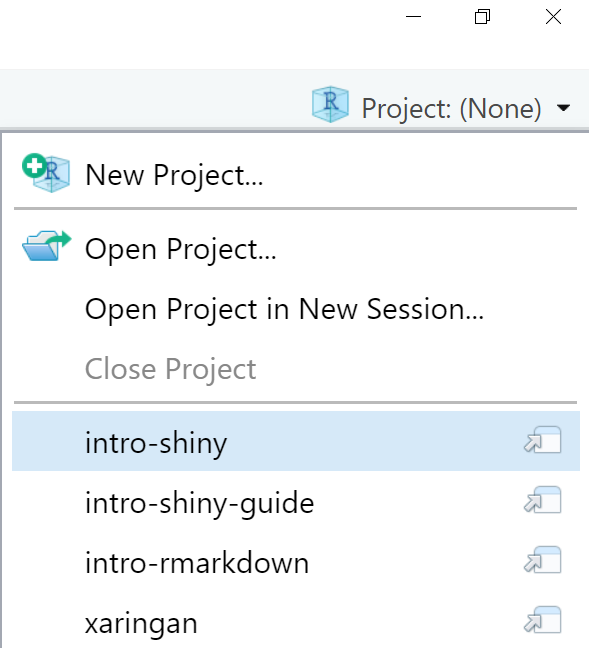
 Close Project. On the day of the session, you can access the dropdown in that area of the IDE and select intro-shiny.
Install
Install the following packages by running the following code snippet in the console of your RStudio IDE. Ignore any warnings regarding Rtools and if you are asked to install from sources which needs compilation, click ‘No’.
install.packages(c("shiny", "shinythemes", "bslib", "DT", "here", "rsconnect",
                   "tidyverse", "scales", "plotly", "data.table"))
Test
Test to make sure Shiny works by copying and pasting the code snippet into the console of the RStudio IDE.
library(shiny)
if (interactive()) {
  shinyApp(
    ui <- fluidPage(
      selectInput("variable", "Variable:",
                  c("Cylinders" = "cyl",
                    "Transmission" = "am",
                    "Gears" = "gear")),
      tableOutput("data")
    ),
    server <- function(input, output) {
      output$data <- renderTable({
        mtcars[, c("mpg", input$variable), drop = FALSE]
      }, rownames = TRUE)
    }
  )
}
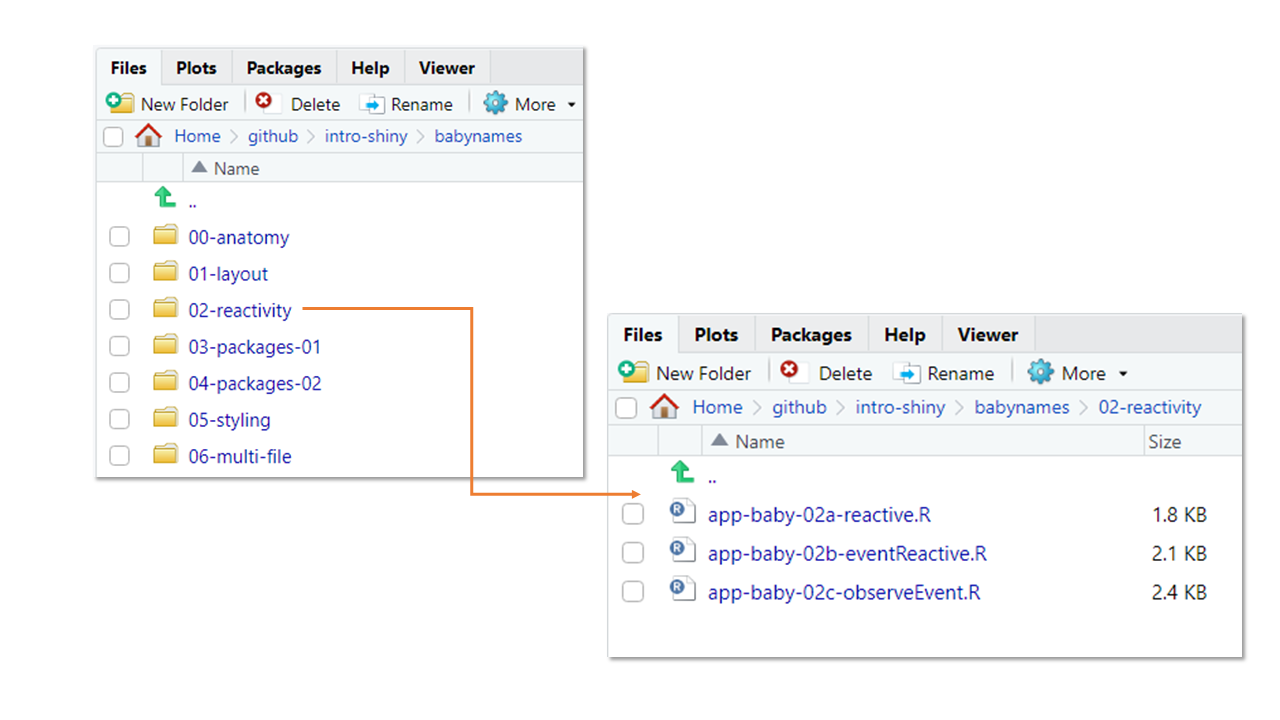
Note on Files
The sub-directory babynames contains starting and intermediate app files. These files are organized by sections.
At various points, starting files will be opened and we will add code to them. Starting files include:
- 00-anatomy/app-baby-00.R
- 01-layout/app-baby-01.R
- 04-packages-02/app-baby-04.R
Intermediate files are available in the event that the code-along goes awry. Each intermediate file is a working example of a sub-topic within a section. You can view the code and run it without additional code. The end of a file name for an intermediate file should describe the sub-topic.
Optional
Rainbow Parenthesis
Turn on rainbow parenthesis. There’ll be a lot of nested parenthesis and brackets so this is a helpful visual tool to keep track of their counterparts.
Tools > Global Options > Code > Display 
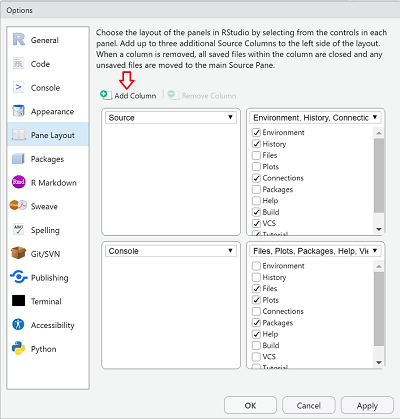
Multiple Source columns
Activate multiple Source columns (if your screen is wide enough). When working with a multi-page app, having 2 or more files opened side-by-side might be more ergonomic. After adding additional columns, you can open scripts and drag and drop them in either column.
Click on the pane icon ![]() .
. Pane Layout... > Add Column
shinyapps.io
Create a free shinyapps.io account. If you want to deploy a project (non-PSRC related and not something with confidential or sensitive data), shinyapps.io is an option.
Note that deleting an account requires you to contact support@rstudio.com.