CSS (Cascading Style Sheets) is a language used for describing the style and layout of a document. You can always use CSS to further customize the appearance of your app, but depending on what you’re trying to accomplish, it may not be easy.

Figure 1: We Bare Bears. https://devrant.com/rants/236669/css-in-a-nutshell.
Part of the difficulty is that by default, Shiny utilizes Bootstrap–a CSS framework, so styles are already in place when we create the UI. To override Bootstrap, try the shinythemes or bslib package before using CSS.
shinythemes
shinythemes is an easy alternative to the default bootstrap theme that is inherent in Shiny. Depending on the theme, it can change fonts, sizing, and color palettes.
After loading the library, use the theme selector to try out different themes before committing to one.
# UI

ui <- fluidPage(

  # test different shiny themes with the theme selector
  themeSelector(),


  title,
  src,
  .
  .
  .
)
Apply one of the shiny themes.
# UI

ui <- fluidPage(

  # apply a shiny theme
  theme = shinytheme("flatly"),

  title,
  src,
  .
  .
  .
)
bslib
A recent package, bslib, was designed to make it a little easier to override Bootstrap settings. Unlike shinythemes, fonts and color can be set for different parts of the document.
To find available Google Fonts see: https://fonts.google.com/
#UI

ui <- fluidPage(

  # use bslib's previewer
  theme = bs_theme() %>% bs_theme_preview(),

  title,
  src,
  .
  .
  .
)
After testing, customize your theme by setting the arguments in bs_theme().
#UI

ui <- fluidPage(

  # set the arguments
  theme = bs_theme(primary = "#FF00F3",
                   heading_font = font_google("Pacifico"),
                   spacer = "2rem"),

  title,
  src,
  .
  .
  .
)
rem
In Bootstrap 4, rem units of measurement are the default. Unlike pixels, rem is a relative unit of measurement. It can scale relative to the default font size set by the user (on their browser or device). This makes rem units very useful for accessibility1.
CSS
There are several ways to apply custom CSS. One is by using a file based CSS. If there are a lot of CSS rules, centralizing it in its own .css file can be helpful.
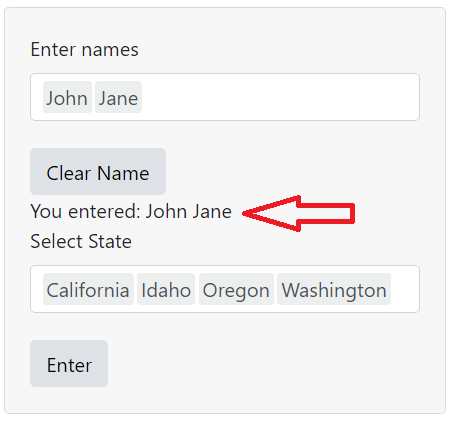
In the example below, we will increase the top and bottom margins around textOutput('name_entered').

A way to associate a particular CSS rule to an element of your UI is by using a class (a type of CSS selector).
Some R functions will allow an argument for a class name, and others like textOutput() doesn’t. If so, wrap div() around the element and set the class name as an argument.
# UI

# apply a class name to the div wrapper
txt_disp <- div(textOutput("name_entered"), class = 'buffer')
In the directory where your app file is, create a sub-directory called www.

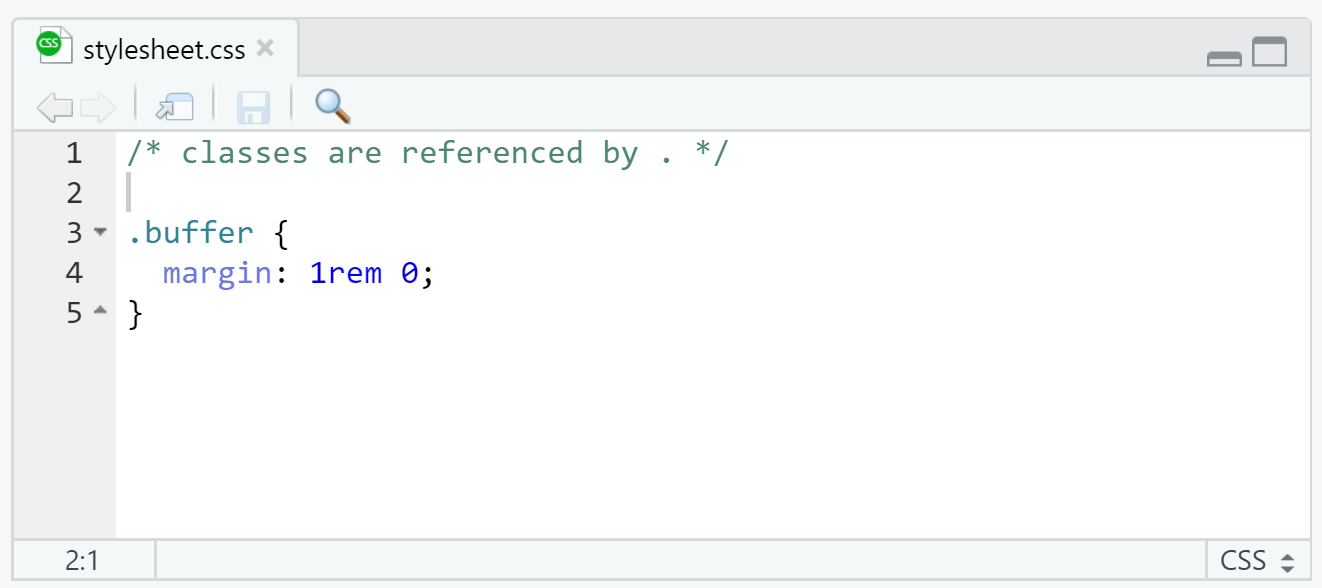
Create a new text file, with a .css extension and save with a file name of your choice inside www.

# CSS

/* classes are referenced by . */
.buffer {
  margin: 1rem 0;
}Back in the UI, reference the newly created CSS file.
# UI

ui <- fluidPage(

  # link the CSS file to the app
  tags$head(
    tags$link(rel = "stylesheet", type = "text/css", href = "stylesheet.css")
  ),
  .
  .
  .
)